Coconut Flour Pancakes: A Low-Carb, Gluten-Free Recipe for a Diabetes Meal Plan
Written and tested by Lylia, home cook and recipe developer. Nutritional estimates calculated using standard USDA ingredient data. This article is for general informational purposes only and is not medical or dietary advice. If you’re managing diabetes or another blood sugar condition, please talk with your doctor or a registered dietitian before making changes to your diet.
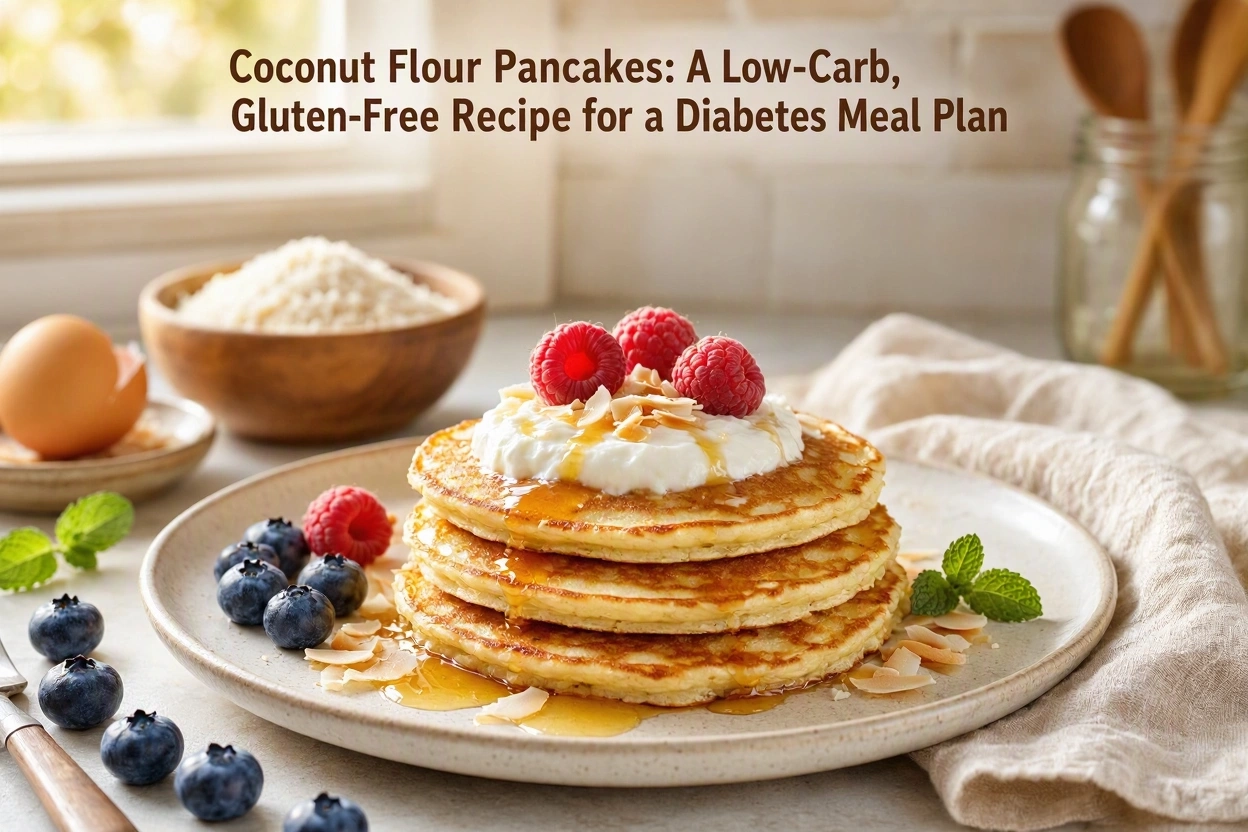
Coconut flour pancakes are fluffy, gluten-free and made with only a few ingredients. This version has no sugar in the batter, so you decide whether to sweeten them and how. The recipe makes 8 small pancakes, enough for 4 servings of 2.
A note on gluten-free: gluten-free does not automatically mean low-carb or diabetes-friendly. What matters for blood sugar is the carbohydrate in the whole plate: the flour, any sweetener, the toppings, and how much you eat.
Why coconut flour?
- Higher in fiber than wheat flour. Coconut flour is notably high in fiber [link the exact USDA FoodData Central entry here], so a small amount goes a long way.
- Eggs add protein. This batter uses 4 eggs, and protein has a minimal direct effect on blood glucose [1].
- Naturally gluten-free, for anyone who needs it.
Coconut flour is very absorbent, which is why the recipe uses a small amount and several eggs. Do not swap it 1:1 for wheat flour in other recipes.
Coconut flour pancakes
Makes: 8 small pancakes (4 servings of 2) · Prep: 5 minutes · Rest: 5 minutes · Cook: 10 minutes · Nutrition per serving (2 pancakes): [calories / net carbs / fiber / protein / fat. Calculate from your ingredients]
Ingredients
- ¼ cup (about 30 g) coconut flour
- 4 large eggs
- ¼ cup unsweetened milk (dairy or non-dairy)
- 1 teaspoon vanilla extract
- ¼ teaspoon baking powder
- A pinch of salt
- 2 tablespoons melted butter or coconut oil, plus a little for the pan
- Optional: ½ teaspoon cinnamon, or a small amount of the sweetener you use (count it in your carbohydrates)
Method
- Whisk the coconut flour, baking powder and salt, breaking up any lumps.
- In another bowl, beat the eggs until frothy, then whisk in the milk, vanilla and melted butter.
- Combine the wet and dry ingredients and let the batter rest 5 minutes to thicken. If it is too thick to pour, add milk a tablespoon at a time.
- Heat a lightly greased griddle or pan over medium-low heat.
- Spoon about 3 tablespoons of batter per pancake and cook until bubbles form and the edges look set, about 2 to 3 minutes.
- Flip gently with a thin spatula and cook until golden on the other side.
How to fit them into a diabetes plate
The ADA’s plate method puts protein on a quarter of the plate, non-starchy vegetables on half, and carbohydrate foods on a quarter [2]. At breakfast you can keep it simple: these pancakes already contain eggs, so add a measured portion of berries or a spoonful of plain Greek yogurt rather than syrup. See our plate method guide and our breakfast guide for more.
Toppings change the carbohydrate count more than the pancakes do:
- Berries: a small handful, measured. Fruit counts as carbohydrate [2].
- Nut butter: choose one with no added sugar.
- Whipped cream or Greek yogurt: use plain and unsweetened.
- Syrup, jam and sugar-free syrups: read the label, because “sugar-free” products still vary in carbohydrate and ingredients.
Variations
- Blueberry: fold a few berries into the batter. Count them as carbohydrate.
- Cinnamon: add ½ teaspoon of cinnamon for flavor without sugar.
- Banana: mashed banana adds noticeable carbohydrate, so measure it and count it in your plan.
- Chocolate chip: use a small amount of sugar-free chips and check the label.
Troubleshooting
- Falling apart: make sure you used 4 full-size eggs, let the batter rest, and flip only when bubbles form and the edges look set.
- Too dense: do not overmix, check that your baking powder is fresh, and add a little more milk.
- Too wet: rest the batter a few minutes longer, or add coconut flour one teaspoon at a time.
- Browning too fast: lower the heat. Coconut flour pancakes cook more slowly than wheat pancakes.
Storage and reheating
Refrigerate cooked pancakes within 2 hours in an airtight container and eat them within 3 to 4 days [3]. For longer storage, freeze them with parchment between layers and reheat in a toaster or oven. The batter can be made up to 24 hours ahead, but it thickens as it sits, so you may need a splash of milk.
More egg and pancake recipes
- Almond flour pancakes with sugar-free berry sauce
- Diabetic breakfast recipes with eggs
- Easy diabetic breakfast recipes (full guide)
- Low-sugar granola
- Greek yogurt parfait
- Meal prep for type 2 diabetes
- See Pillar page about easy diabetic recipes
Frequently asked questions
Do coconut flour pancakes raise blood sugar?
They contain less carbohydrate than traditional pancakes, but your response depends on the sweetener, toppings and portion size, and it varies from person to person. Check your glucose one to two hours after eating to see how you respond, and share the pattern with your care team.
Why are my pancakes falling apart?
Coconut flour has no gluten, so eggs hold the batter together. Use the full 4 eggs, let the batter rest, and cook on medium-low heat.
Can I use almond flour instead?
Yes, but the amounts are different. See our almond flour pancakes recipe instead of swapping 1:1.
Can I make the batter ahead?
Yes, for up to 24 hours in the refrigerator. Stir in a little milk if it has thickened.
Are gluten-free pancakes good for diabetes?
Not automatically. Gluten-free flours vary widely in carbohydrate, and sweeteners and toppings add more. Judge a recipe by its total carbohydrate and how it fits your plan.
Medical disclaimer: This recipe is for general education and is not medical advice. If you have diabetes, especially if you take insulin or other glucose-lowering medicines, talk with a registered dietitian or healthcare provider about the carbohydrate amounts that suit you.